

Table of Contents
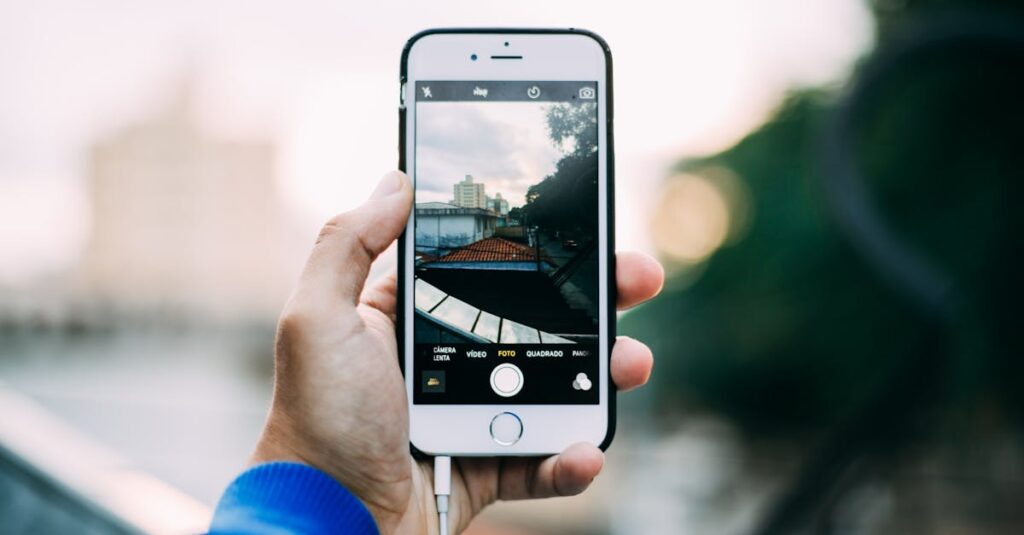
ToggleIn a world where every selfie and sunset demands its own space, iPhone users often find themselves wrestling with pesky image sizes. Those high-resolution photos might look stunning, but they can quickly turn into digital hoarders, hogging precious storage. Fear not! Shrinking those megabytes doesn’t require a PhD in tech wizardry—just a few simple tricks.
Understanding Image File Sizes
Image file sizes affect storage capacity on an iPhone. Understanding these sizes helps users manage their storage effectively.
Why File Size Matters
File size significantly impacts available storage. Larger images consume more space, potentially leading to storage shortages. Compressed files facilitate quicker uploads and downloads, improving user experience. Additionally, knowing file sizes assists in choosing the right images for sharing online. Smaller files load faster and consume less mobile data. Reducing image sizes also enhances overall device performance by freeing up storage for other applications and media.
Common File Sizes for iPhone Pictures
Image file sizes on iPhones vary based on resolution and format. JPEG images generally range from 1 MB to 3 MB, depending on their complexity. HEIC files, used for high-efficiency photography, typically stay within 0.5 MB to 2 MB. PNG files, known for their transparency and quality, generally hover around 1 MB but can reach larger sizes with high-resolution images. Understanding these averages helps users anticipate their storage needs.
Methods to Reduce Picture Size on iPhone
Multiple techniques exist for reducing picture sizes on an iPhone, making storage management a feasible task. The following methods provide straightforward approaches to accomplish this.
Using the Photos App
Accessing the Photos app helps users resize images directly. Users can select a photo, click on “Edit,” and adjust specific elements such as brightness and cropping. Cropping an image reduces dimensions and shrinks the file size. After making adjustments, saving changes compresses the photo automatically. This built-in tool proves effective for quick size reduction without needing additional apps.
Utilizing Third-Party Apps
Third-party apps also simplify the process of reducing picture sizes. Apps like Image Size and Compress Photos offer user-friendly interfaces for resizing images smoothly. Users can select desired dimensions or compression rates within these apps, giving flexibility in how much they want to reduce file sizes. Many of these applications support batch processing, allowing users to compress multiple images simultaneously. Using a third-party app provides options for greater control over file size and quality.
Optimize Image Settings
Reducing image sizes on an iPhone starts with optimizing settings in the device. Focusing on a few adjustments can significantly lower the file size without sacrificing quality.
Adjusting Camera Settings
Lowering the resolution when capturing photos is an effective way to manage image sizes. Users can navigate to Settings, tap on Camera, and then select Formats. By choosing the Most Compatible option, images are saved as JPEG files, which typically result in smaller sizes. Additionally, setting the camera to record in lower resolutions or using burst mode conserves storage. Enabling grid lines can also help crop unnecessary elements, ensuring more efficient photos.
Changing Image Formats
Switching file formats can lead to reduced sizes. HEIC files store images in a compressed format while maintaining quality; however, converting them to JPEG can make files smaller, especially for sharing. Users can export images from the Photos app by selecting an image and tapping Share. From the options, choosing Save as JPEG reduces size further. Online converters or apps specifically designed for file format changes also offer additional options for large batches, enhancing file management efficiency.
Alternative Solutions
Multiple options exist for reducing image sizes on an iPhone. These alternatives provide flexibility in managing storage and maintaining image quality.
Compressing Images with Online Tools
Online tools simplify image compression. Websites like TinyPNG and JPEG-Optimizer allow users to upload images and receive compressed versions. Users benefit from quick processing times, often resulting in smaller file sizes within seconds. Uploading a photo from an iPhone can yield image reductions of 50% or more, depending on the original size. These platforms often support batch processing, allowing multiple images to be resized simultaneously.
Transferring to a Computer for Editing
Transferring images to a computer offers another effective method for resizing. Using a USB cable, users can connect their iPhones to computers and import photos for editing. Programs like Adobe Photoshop or GIMP specialize in compressing images while preserving quality. Adjusting the saving options in these applications lets users choose desired file sizes, often with excellent results. After editing, transferring images back to an iPhone ensures that users maintain valuable storage space.
Reducing image sizes on an iPhone can greatly enhance storage management and improve overall performance. With a variety of techniques available users can easily compress images without compromising quality. Whether using the built-in Photos app third-party applications or online tools there’s a solution for every need.
By optimizing camera settings and exploring different file formats users can take control of their storage space. These methods not only free up room for other applications but also streamline the process of sharing images. Embracing these strategies ensures that iPhone users can enjoy their photos without the worry of running out of storage.